Installing a U-shaped window air conditioner on a home with vinyl siding can be tricky, but it’s far from impossible. These innovative AC units are growing in popularity for their energy efficiency, quiet operation, and better sealing, but they also bring unique challenges, especially when mounting them on flexible, non-load-bearing materials like vinyl siding.
Improper installation can result in cracked siding, water intrusion, or even a voided home warranty. Fortunately, whether you’re a homeowner, renter, or DIY enthusiast, you can mount your U-shaped AC safely with the right tools, materials, and guidance. In this guide, we’ll show you exactly how to do it step by step while protecting your siding and improving your home’s comfort.
What Is a U-Shaped Window AC Unit?
Unlike traditional boxy window air conditioners, U-shaped units have a cutout design that allows the window to slide between the indoor and outdoor components. This innovation offers several advantages:
Benefits of U-shaped ACs
- Superior noise reduction – The window pane acts as a sound barrier.
- Increased energy efficiency – Better sealing around the unit reduces drafts.
- Unobstructed window view – Some models preserve more of the window opening.
- Improved security – The AC is more securely locked in place by the window.
Because of their weight and structure, U-shaped ACs require thoughtful installation, especially when your home exterior is covered with vinyl siding.
Why Vinyl Siding Requires Special Attention
Vinyl siding is popular for a reason: it’s lightweight, affordable, and easy to maintain. But it’s not designed to support heavy objects like air conditioners without proper reinforcement. Here’s why you need to handle it with care:
Key Challenges:
- Lack of structural support – Vinyl panels are mounted over a foam board or sheathing, not studs.
- Cracking risk – Overtightening screws or using the wrong brackets can crack the surface.
- Insulation vulnerability – Drilling into the siding may compromise your home’s energy envelope.
- Waterproofing issues – Improper sealing can invite moisture behind the siding, leading to mold or rot.
To protect your siding and home value, always install AC brackets into wall studs or window framing, not just the siding.
💡 Pro Tip: If you’re unsure about your siding’s condition, book a free siding inspection today to identify potential risks before installing.
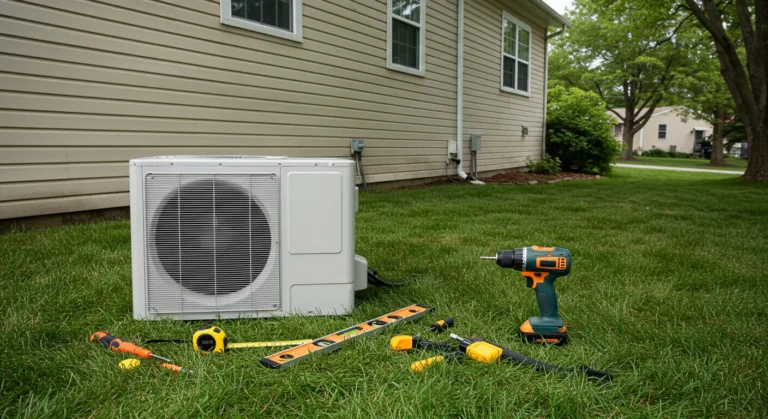
Tools & Materials You’ll Need
To mount a U-shaped AC unit on vinyl siding, you’ll need a mix of common tools and specialized mounting materials. Gather everything before starting to ensure a smooth install.
Essential Tools
- U-shaped AC bracket or mounting kit (vinyl-compatible)
- No-drill AC bracket (if avoiding screws or are renting)
- Stud finder – to locate structural supports
- Drill with masonry bit (if drilling into framing)
- Screwdriver
- Level
- Measuring tape
- Protective gloves and safety glasses
Materials
- Vinyl siding spacers or mounting blocks
- Rubber grommets (to prevent over-tightening)
- Exterior-rated screws
- Weather seal foam or insulation strips
- Caulking or silicone sealant (for sealing gaps)
Some homeowners may also choose to buy a vinyl siding mounting block; a plastic accessory that helps distribute weight without damaging the siding.
Step-by-Step Installation Process
Ready to install? Follow this step-by-step breakdown to safely mount your unit, whether you’re going for a drill-based install or a no-drill method.
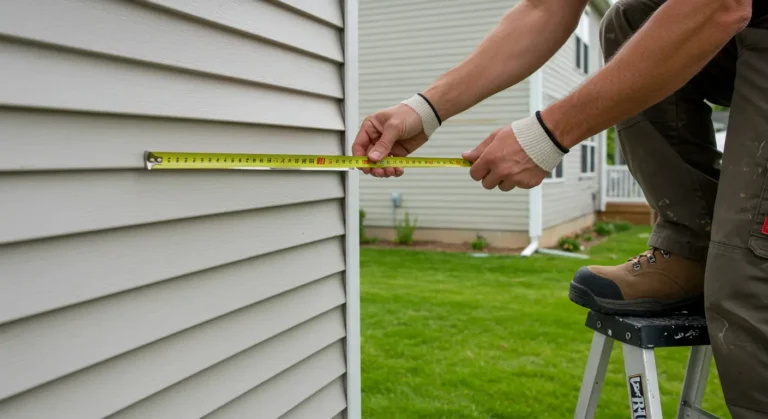
1. Measure and Mark Mounting Points
- Open the window where the unit will be installed.
- Use a level and measuring tape to center the AC in the opening.
- Use a stud finder to locate framing behind the siding.
- Mark the bracket mounting spots clearly with a pencil.
💡 For better balance, install the unit between two wall studs if possible.
2. Choose Your Installation Method
There are two main ways to install a U-shaped AC on vinyl siding:
A. Drill Method (Permanent Install)
- Carefully drill pilot holes into the siding aligned with wall studs.
- Use exterior-rated screws and spacers to avoid crushing the siding.
- Seal the screw holes with silicone to prevent leaks.
B. No-Drill Method (Temporary or Renter-Friendly)
- Use a compression-based bracket that grips the window frame.
- Some brackets hook into the windowsill or rest on the window track.
- Always check the manufacturer’s weight rating for your unit.
3. Attach the Brackets
- Using a level, ensure your bracket is horizontal before securing it.
- For drill-based installs, use rubber washers between the bracket and siding to avoid direct pressure.
- Tighten bolts just enough to hold the bracket securely; don’t overtighten.
4. Install the U-Shaped AC Unit
- With help, lift the AC and slide it into place on the bracket.
- Carefully lower the window sash into the U-shape groove.
- Lock the window if possible, and secure any additional fasteners provided.
5. Seal and Insulate the Gaps
- Use weather seal foam around the window sash to block airflow.
- Apply caulking around the edges where needed.
- This improves energy efficiency and prevents bugs, water, and hot air from getting in.
For additional home energy tips, check out the U.S. Department of Energy – Energy Saver portal.
Common Mistakes and How to Avoid Them
Mistakes during installation can lead to costly damage or inefficient cooling. Here’s what to avoid:
❌ Choosing the wrong bracket
Use only brackets rated for your AC’s weight and compatible with siding installation.
❌ Mounting directly to siding
Always mount to structural supports, not just vinyl panels.
❌ Skipping the seal
Unsealed gaps increase your energy bill and reduce cooling performance.
❌ Uneven bracket
An off-level mount causes water drainage issues and possible unit failure.
❌ Overdriving screws
This can crush siding and lead to cracks. Use washers or grommets.
Maintenance Tips and Seasonal Removal
Once your U-shaped AC is installed, caring for both the unit and your siding is key to long-term performance.
Ongoing Maintenance
- Check brackets and seals monthly for signs of loosening.
- Keep the unit and surrounding area clear of leaves, dirt, or debris.
- Use a soft cloth or vinyl-safe cleaner to wipe the exterior surface.
Seasonal Removal Tips
- Consider removing the unit during cold months to prevent cold drafts.
- If you remove it, cover the window opening and reapply sealant as needed.
- Store the AC in a dry, indoor location to protect components.
If the siding shows wear after removing the unit, follow our guide on how to repair vinyl siding. For ongoing siding care, see our vinyl siding maintenance tips.
Final Tips
Mounting a U-shaped AC unit on vinyl siding may sound intimidating, but with the right tools, a solid bracket, and careful measurements, it’s a manageable project for most DIYers. Whether you’re installing it temporarily or permanently, the key is minimizing damage and maximizing comfort.
✅ Use siding-safe mounting methods
✅ Seal and insulate for efficiency
✅ Maintain your unit year-round
📞 Need help before you install?
Book a Free Siding Inspection Today to protect your home exterior and get expert advice.
FAQs
Can I mount a U-shaped AC on vinyl siding without drilling?
Yes! Many renters and DIYers opt for no-drill AC install vinyl siding solutions like compression-based brackets or hook-in supports that don’t penetrate the siding.
What bracket works best for vinyl siding?
Look for a bracket for U-shaped AC on vinyl that distributes weight evenly, attaches to wall studs or window frames, and includes rubber cushions to protect the siding.
Is it safe to support the AC without wall reinforcement?
Not always. While support AC unit on siding wall methods exist, they’re only safe when using manufacturer-approved brackets that don’t rely solely on siding. Always aim to anchor into studs or framing.