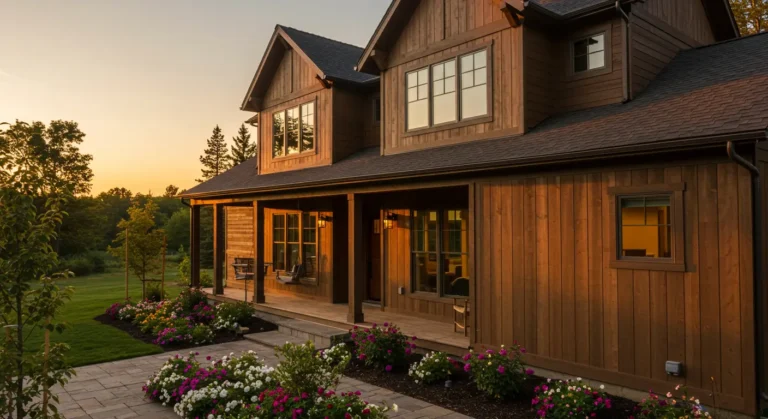
If you’re considering Hardie board siding for your home, you’re choosing one of the most durable, weather-resistant, and attractive siding options on the market today. Whether you’re a hands-on DIY enthusiast or a homeowner seeking to understand the process before hiring a contractor, this step-by-step guide will walk you through everything you need to know about how to install Hardie board siding.
We’ll explain the tools you need, show you how to prepare your home, cover common mistakes, and help you decide whether to tackle the job yourself or call in a pro.
What Is Hardie Board Siding?
Hardie board is the popular name for fiber cement siding produced by James Hardie, a manufacturer known for its high-performance building products. The material is made from a mix of cement, sand, and cellulose fibers, resulting in a siding option that’s both rugged and stylish.
Benefits of Hardie Board Siding
- Fire resistance – It’s non-combustible, unlike vinyl or wood siding.
- Weatherproof – Holds up well against hurricanes, hail, and UV exposure.
- Pest-resistant – Unattractive to termites and carpenter ants.
- Low maintenance – Resists warping, cracking, and rotting.
- Aesthetic flexibility – Comes in many styles, including those that mimic wood grain.
Fiber cement siding is ideal for homes in areas with fluctuating temperatures or high humidity, like Louisiana or the Gulf Coast, where durability is critical.
Tools and Materials You’ll Need
Before you begin installing Hardie board, make sure you have the right materials and safety gear on hand.
Essential Tools
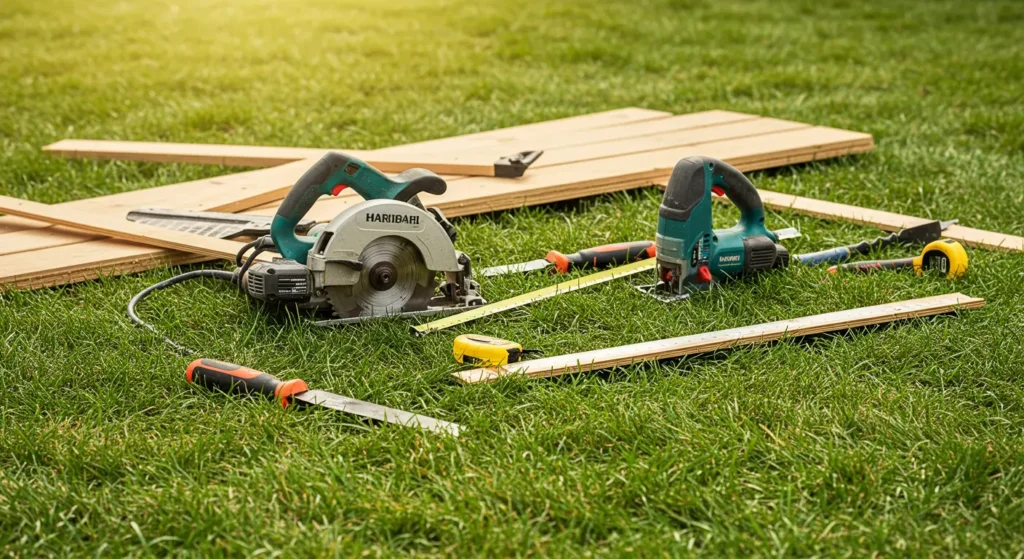
- Circular saw with fiber cement blade
- Manual or pneumatic shears (for low-dust cutting)
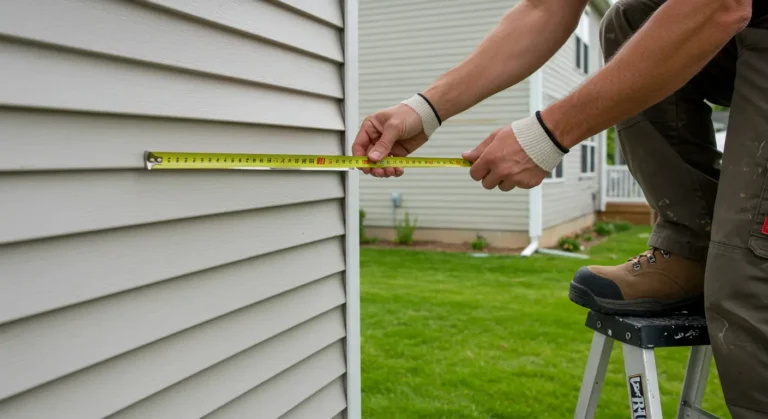
- Tape measure
- Level and chalk line
- Framing square
- Utility knife
- Power drill or hammer
- Siding nail gun (optional)
Materials Checklist
- James Hardie siding (planks or panels)
- House wrap or vapor barrier
- Galvanized/stainless nails or screws
- Caulk (paintable and exterior-grade)
- Flashing tape
- Exterior paint or stain (if not prefinished)
- Trim boards
- Joint flashing or backer strips
Pro Tip: Use Hardie-specific tools to avoid damaging the material or creating hazardous dust.
Step-by-Step Guide: Installing Hardie Board Siding
Step 1: Surface Prep and House Wrap Application
Before installing siding, the wall sheathing must be smooth, dry, and free from protrusions. Start by installing a weather-resistant barrier like Tyvek or felt paper across the entire surface. Use cap nails or staples, and overlap horizontal seams by at least 6 inches.
Why House Wrap Matters
A house wrap under Hardie board acts as a moisture barrier and provides a layer of protection against leaks and mildew, especially important in wet or humid climates.
If you’re installing over masonry or brick, you’ll need to use furring strips to create a flat nailing surface and maintain airflow behind the panels.
Step 2: Decide on Horizontal vs. Vertical Installation
HardiePlank lap siding is installed horizontally, while HardiePanel is designed for vertical installation. Your layout choice will affect not only the aesthetic but also the installation process.
Horizontal (HardiePlank):
- Traditional wood-look appearance
- Easier for DIY installs
- Requires starter strips at the base
Vertical (HardiePanel):
- Sleek, modern style
- Needs furring strips or blocking for stud alignment
- Often paired with batten strips (board-and-batten style)
Explore more insights in this fiber cement siding installation guide.
Step 3: Cut and Measure Your Boards
When cutting Hardie board, take safety seriously, fiber cement generates silica dust.
Cutting Options:
- Circular saw with dust collection
- Shears (manual or electric) for minimal dust
- Jig saw (for detail cuts around windows or outlets)
Measure each board carefully before cutting. Leave 1/8 inch between boards for expansion and allow for caulking.
Wear a respirator, goggles, and gloves when cutting. Always cut outdoors or in well-ventilated areas.
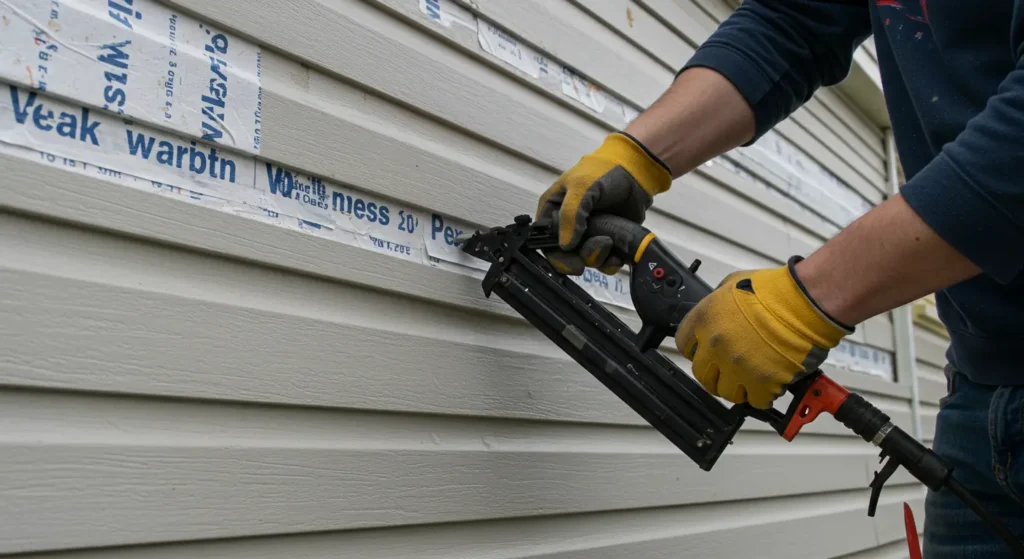
Step 4: Fastening and Siding Nail Spacing
Attach siding to wood framing or furring strips. Use 1¼” to 2” galvanized nails or screws, driving fasteners into studs (typically 16″ on center).
Siding Nail Spacing Tips:
- Place nails ¾ inch from the top edge
- Fasten every 16 inches
- Do not overdrive or angle nails
Blind nailing (nailing at the top edge covered by the next board) is recommended for HardiePlank. Face nailing may be required for HardiePanel, but must follow the manufacturer’s instructions.
Improper spacing is a leading cause of board buckling and warranty denial.
Step 5: Caulking, Sealing, and Flashing
To weatherproof the installation:
- Caulk vertical joints, butt joints, and areas around windows and doors.
- Use flashing tape behind vertical joints or install joint flashing per Hardie’s specifications.
- Apply backer rods if gaps exceed ¼ inch before caulking.
Does Hardie siding need to be caulked? Yes, caulking is critical for preventing water intrusion.
Step 6: Painting and Finishing
If you purchased prefinished siding, you’re done after caulking. Otherwise:
- Use 100% acrylic exterior paint
- Wait at least 24 hours after caulking
- Apply two coats, especially on cut ends
Paint adds extra protection against UV damage and enhances curb appeal.
Pro Tips and Common Mistakes to Avoid
Do:
- Store siding flat and dry before installation
- Always follow the James Hardie siding installation guide
- Stagger seams for a natural look
Don’t:
- Overdrive nails (can crack the board)
- Skip flashing or caulking
- Install directly on the sheathing without house wrap
- Butt boards too tightly (no room for expansion)
Learn more about Siding Installation and get help if you’re unsure about these steps.
Should You DIY or Hire a Pro?
Installing Hardie board siding is labor-intensive and requires precision. It can be a satisfying DIY project for skilled homeowners, but often it’s best left to professionals.
You Might DIY If:
- You’re confident using power tools and ladders
- Your home has simple lines (no curved walls or high peaks)
- You have helpers available for lifting and layout
Hire a Pro If:
- Your home has multiple stories or complex trims
- You want a manufacturer-backed warranty
- You’re working against a tight timeline
🤝 Still unsure? Book a Free Siding Inspection Today and talk to our team for personalized advice.
Conclusion: Build With Confidence
Installing Hardie board siding is one of the best investments you can make in your home’s long-term protection and appearance. With the right tools, planning, and a bit of patience, it’s a project that can be handled by experienced homeowners or expertly completed by professionals.
👉 Book a Free Siding Inspection Today to find out if Hardie board is right for your home, and get an expert assessment from our trusted team.
FAQs About Hardie Board Installation
What do you put behind Hardie board siding?
A weather-resistant house wrap is required behind Hardie board. This layer keeps moisture out of your wall cavity and complies with building code.
Can I install Hardie board myself?
Yes, but be prepared for heavy lifting and precision work. It’s a project best suited for experienced DIYers with the proper tools.
What nails or screws are used for Hardie siding?
Use corrosion-resistant fasteners such as:
- Galvanized siding nails
- Stainless-steel screws
- Roofing nails for extra holding strength
Avoid uncoated fasteners, which can rust and stain the board.
Does Hardie siding need to be caulked?
Absolutely. Seal all joints and trim intersections to prevent water infiltration. Use 100% silicone or polyurethane exterior caulk.
How long does Hardie siding last?
Hardie board siding is known to last 30–50 years or more when properly installed and maintained.
What is better: Hardie board or vinyl siding?
Hardie board offers better fire resistance, durability, and weather performance. However, it costs more and takes longer to install than vinyl.
Is a permit required to install Hardie siding?
In many areas, yes. Check with your local building authority before starting the project.