Vinyl siding continues to be a top choice for homeowners seeking an affordable, low-maintenance exterior solution. Its ease of installation makes it especially attractive to the DIY crowd. But one question always comes up: How do I install vinyl siding myself?
In this comprehensive guide, we’ll walk you through the entire process from tools and prep to detailed installation steps. You’ll also learn essential safety tips, common pitfalls to avoid, and when it’s best to call in the pros.
Let’s get started on your exterior siding DIY project.
Why Choose Vinyl Siding?
Vinyl siding offers an exceptional balance of affordability, durability, and aesthetic appeal.
Key Benefits:
- Cost-Effective: One of the most affordable siding options available.
- Low Maintenance: No painting required; just periodic cleaning.
- Durable: Withstands wind, rain, and extreme temperatures.
- Visually Versatile: Available in various colors and textures to match any architectural style.
- Energy Efficient: Can be installed with an insulated backing to improve energy efficiency.
Homeowners love it not just for the savings, but also for its curb appeal and long-term performance.
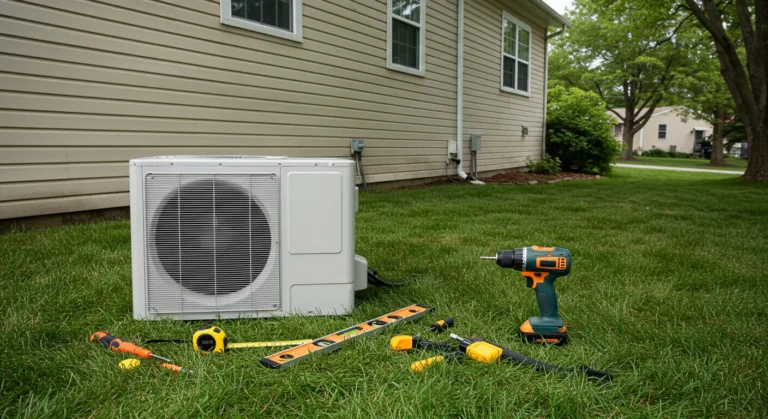
Tools & Materials You’ll Need
Before you begin installing vinyl siding yourself, gather the necessary tools and materials. Having the right equipment can make or break your DIY success.
Essential Tools:
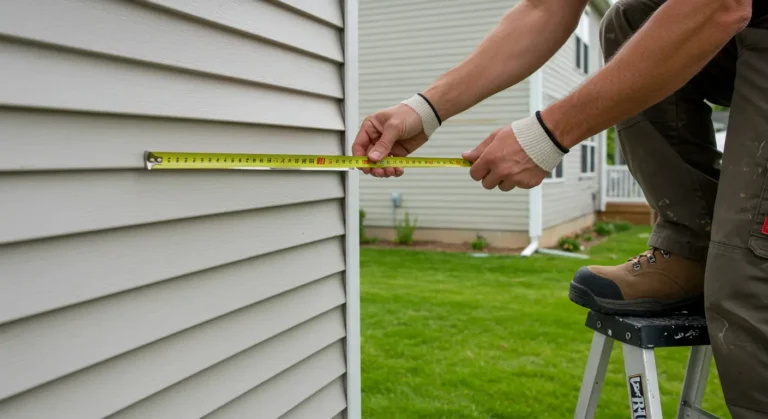
- Tape measure: For accurate panel and trim measurements.
- Level: To ensure each panel is straight.
- Utility knife or vinyl snips: For clean, precise cuts.
- Chalk line: To mark guidelines for level installation.
- Hammer or power nailer: For fastening panels.
- Circular saw with fine-tooth blade: For cutting siding.
- Safety gear: Gloves, safety goggles, and a dust mask.
Materials List:
- Vinyl siding panels
- Starter strips
- Corner posts
- J-channels
- Undersill trim
- House wrap or foam insulation board
- Galvanized nails or manufacturer-approved fasteners
- Flashing tape and caulking
Tip: Don’t forget a zip tool, it helps unlock and remove vinyl panels without damaging them.
Pre-Installation Prep
Proper preparation sets the foundation for a smooth vinyl siding installation.
1. Inspect the Wall Surface
Remove old siding if necessary and examine your wall sheathing:
- Look for signs of rot, mold, or moisture.
- Replace any damaged sections.
- Ensure the surface is clean, dry, and flat.
2. Install a Weather Barrier
- Apply house wrap or rigid foam insulation board for protection against moisture.
- Seal seams with flashing tape.
3. Mark Guidelines
- Snap horizontal chalk lines across the wall to guide your rows of siding.
- Mark stud locations to ensure secure nailing.
4. Safety Measures
- Use safety glasses, gloves, and proper ladder technique.
- Avoid installation during extreme weather, especially high winds or heavy rain.
Step-by-Step: How to Install Vinyl Siding
Installing vinyl siding involves several key stages. Follow these vinyl siding installation steps for best results.
Step 1: Install the Starter Strip
- Begin at the lowest point of the wall, usually 1 inch above the foundation.
- Make sure the starter strip is level across the entire wall.
- Nail every 8-12 inches, leaving 1/32 inch between nail head and siding to allow movement.
Step 2: Set Up J-Channels and Corner Posts
- Install J-channels around windows, doors, and eaves.
- Attach corner posts at the ends of each wall, ensuring they are plumb and securely fastened.
Step 3: Hang the First Panel
- Lock the bottom of the first siding panel into the starter strip.
- Nail the panel into the wall sheathing at the center of each nail slot.
- Leave room for expansion on both sides, typically ¼ inch.
Step 4: Overlap and Stagger Panels
- Overlap panels by at least 1 inch.
- Stagger the joints between courses for better aesthetics and water resistance.
Step 5: Cut Panels for Windows and Doors
- Use vinyl snips or a circular saw to cut panels around openings.
- Install flashing and caulking to seal gaps and prevent leaks.
Step 6: Install the Top Course
- The top row may need to be trimmed.
- Use a snap-lock punch to create tabs that will fit into the utility trim under the eaves.
Step 7: Final Inspection
- Check for loose or overly tight panels.
- Ensure all fasteners are secure and trim pieces are sealed.
- Verify alignment and ensure proper panel expansion gaps are maintained.
Need more help? Review this detailed Family Handyman guide on siding installation for visual walkthroughs.
Common Mistakes to Avoid
Avoiding these common errors will help your siding last longer and perform better:
- Over-Nailing: Prevents the panels from expanding and contracting with temperature changes.
- Tight Joints: Always leave room for panel movement, especially at corners and trim ends.
- Skipping House Wrap: Leads to moisture damage and poor energy efficiency.
- Crooked Panels: Not using a level can result in visible unevenness.
- Improper Overlaps: Can cause water to penetrate and lead to mold or rot.
Maintenance & When to Call a Pro
Once your siding is installed, it still requires some care to maintain its appearance and function.
Basic Maintenance Tips:
- Wash siding annually with a garden hose or soft brush and mild detergent.
- Avoid pressure washers, which can crack or warp panels.
- Clear vegetation or tree limbs that may rub or trap moisture against the siding.
When DIY Isn’t Enough
Even after a successful DIY installation, your siding may eventually show signs of wear, warping, or damage from severe weather. In such cases, timely vinyl siding repair is essential to prevent moisture infiltration and structural issues. If your siding is cracking, sagging, or pulling away from your home, it might be time to call in the pros.
Additionally, consult a professional siding installation team when:
- Your home has more than one story or complex architecture.
- Local building codes require permits or inspections.
- You’re unsure about the structural integrity beneath the siding.
Final Thoughts
Installing vinyl siding yourself is not only possible, it can be deeply rewarding. With the right tools, prep, and guidance, you’ll enhance your home’s exterior and save on labor costs.
But remember: quality matters more than speed. Rushing through steps or skipping details can lead to costly problems down the road. If you ever feel overwhelmed or unsure, trust the experts.
Book a Free Siding Inspection Today
Let the Lone Wolf Siding team help ensure your siding looks great and lasts for decades.
FAQ: Your Vinyl Siding Questions Answered
Can I install vinyl siding myself?
Yes, if you’re comfortable with tools and ladders, installing vinyl siding yourself is absolutely doable. This project requires patience and attention to detail but can be a great way to save money on labor costs.
Do I need a permit to install siding?
That depends on your municipality. In most cases, permits are required for siding replacements, especially if insulation or wall sheathing is being altered. Check with your local building office or consult the National Association of Home Builders for resources.
Should I remove old siding before installing new vinyl?
If the existing siding is severely damaged, uneven, or incompatible, yes, you should remove it. However, vinyl can often be installed over wood siding or other surfaces if the wall is sound and flat.
What tools do I need for vinyl siding installation?
At minimum, you’ll need a tape measure, chalk line, level, utility knife or snips, hammer or nail gun, and safety gear. A circular saw with a fine-tooth blade, zip tool, and snap-lock punch will also make the job easier.
How long does it take to install vinyl siding?
It depends on your home’s size and complexity. A typical single-story home can take 3-7 days for DIYers, including prep time. Professionals may complete the job faster.
What is the easiest way to install vinyl siding?
The easiest way is to break the job into clear stages: wall prep, layout planning, installing starter strips, then panels. Use visual aids and follow manufacturer instructions carefully. Having a helper makes the job significantly easier.